How to Prepare Your Roof for Winter Weather

Winter can be a challenging season, especially for Minneapolis homeowners facing heavy snow, ice, and fluctuating temperatures. Taking proactive steps to prepare your roof for winter weather can protect your home from costly roof repairs, energy inefficiency, and potential hazards. This guide will walk you through the best practices for winter roof care and ensure you’re well-equipped to handle the season’s harshest conditions.
Why Winter Roof Preparation Is Essential
Preparing your roof for snow and cold weather is more than just an annual ritual; it’s a necessity to maintain your home’s integrity and safety. Winter roof preparation can prevent problems such as ice dams, roof leaks, and structural damage. A well-prepared roof can also help keep heating costs down by improving insulation and reducing drafts. The following sections will outline essential steps to prepare your roof for the challenges of winter.
Inspecting Your Roof: The First Step in Winter Roof Preparation
Before taking any measures to reinforce your roof, start with a thorough inspection. This step helps identify weak spots or minor issues that could escalate into bigger problems under the weight of snow or the impact of icy weather.
What to Look For in a Roof Inspection
- Damaged Shingles: Look for missing, cracked, or curling shingles. Damaged shingles can allow water and cold air to seep in, which might lead to leaks or ice dam formation.
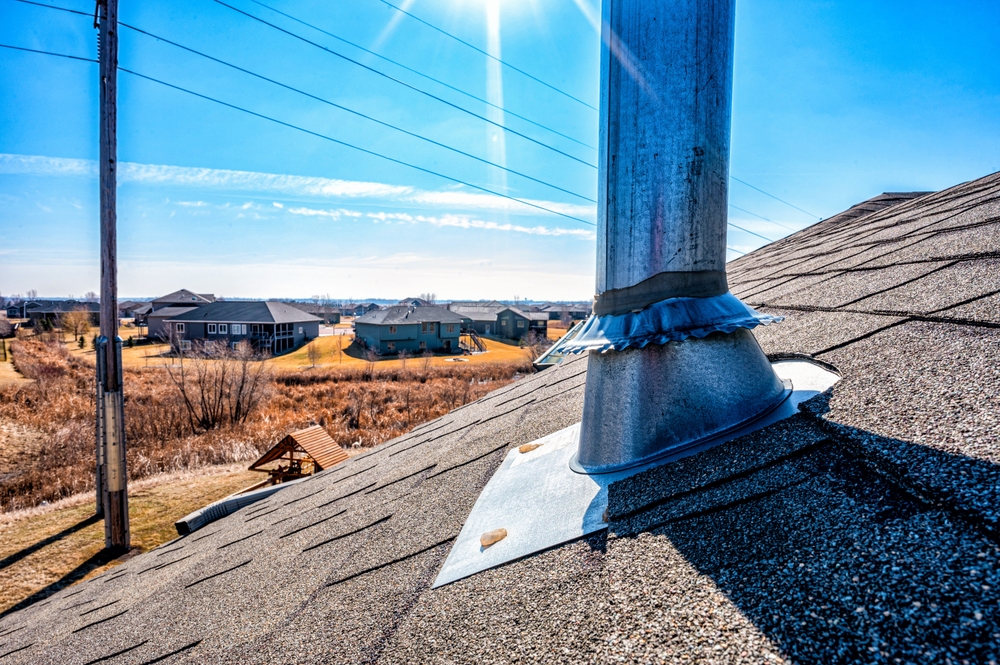
- Flashing Condition: Check the metal flashing around chimneys, vents, and valleys. Loose or corroded flashing can be a prime entry point for moisture.
- Signs of Mold or Mildew: Dark spots or streaks on the roof surface often indicate mold growth, which can compromise the roof’s integrity.
- Gutters and Downspouts: Ensure that your gutters and downspouts are securely attached and free from debris. Blocked gutters can lead to ice dams and prevent proper drainage of melted snow.
Consider hiring a professional for this inspection if you’re uncomfortable doing it yourself or if the roof’s condition seems especially poor. A professional can provide detailed insights into potential issues and recommend preventive measures.
Clean Your Gutters for Optimal Drainage
Blocked gutters are a common winter roof problem. Leaves, twigs, and other debris can prevent water from draining properly, causing water buildup that freezes into ice dams. These ice dams can damage the roof’s edges and cause water to back up, potentially seeping under shingles and into your attic.
Steps to Clean Your Gutters
- Remove All Debris: Use a gutter scoop or gloves to clear out leaves, branches, and other debris.
- Flush with Water: After removing debris, flush the gutters with water to ensure smooth drainage.
- Install Gutter Guards: Consider adding gutter guards to prevent debris buildup throughout winter, reducing the need for regular cleanings.
- Inspect Downspouts: Make sure downspouts are clear and positioned to direct water away from your home’s foundation.
Cleaning your gutters before winter hits is one of the best practices for winter roof care, ensuring proper drainage and reducing the risk of ice dams.
Trim Overhanging Trees
Heavy snow or ice on overhanging tree branches can lead to fallen branches damaging your roof. Trimming these branches before winter reduces the risk of roof damage and keeps your roof free of extra debris.
How to Safely Trim Trees Near Your Roof
- Use Proper Equipment: Use a pole saw or pruning shears to trim branches. Avoid climbing onto the roof itself, which can be risky.
- Hire Professionals for Large Trees: If you have large trees close to your roof, consider hiring a professional tree service to avoid accidents.
- Maintain Clearance: Trim branches to ensure they are at least 10 feet away from the roof. This prevents any snow-laden branches from falling onto your home.
Trimming overhanging branches can prevent potential damage to your roof, saving you from unexpected repairs.
Insulate and Ventilate Your Attic
A well-ventilated and insulated attic is key to preventing winter roof issues such as ice dams and moisture buildup. Proper attic insulation prevents warm air from rising through the roof, which can cause snow on the roof to melt and refreeze at the edges, creating ice dams.
Steps to Ensure Proper Insulation and Ventilation
- Check for Air Leaks: Seal any gaps in the attic that allow warm air to escape. Use weatherstripping or caulk to close any gaps around windows, vents, or attic access doors.
- Add Insulation: Measure the thickness of your attic insulation; if it’s less than 12 inches, consider adding more. Fiberglass or spray foam insulation are good options for winter roof preparation.
- Install Roof Vents: Roof vents allow air to circulate, which helps maintain an even temperature on the roof’s surface. Ridge vents and soffit vents are effective options.
Proper insulation and ventilation are critical steps for winter roof care, preventing ice dams and prolonging your roof’s lifespan.
Clear Snow Regularly to Prevent Ice Dams
After a heavy snowfall, clearing excess snow from your roof is vital for preventing ice dams and excess weight on your roof. Ice dams occur when snow melts unevenly and refreezes at the eaves, trapping water and causing leaks.
Safe Snow Removal Techniques
- Use a Roof Rake: A roof rake with an extendable handle can remove snow from the edges of your roof safely from the ground.
- Avoid Using Salt: While some homeowners attempt to melt snow and ice with salt, this can damage shingles and nearby vegetation.
- Hire Professionals for Deep Snow: If there’s a significant amount of snow or if your roof is steep, consider hiring professionals. They have the necessary equipment to remove snow without causing damage or risking safety.
Clearing snow regularly is an essential winter roof preparation step, helping to prevent ice dams and roof strain.
Repair and Replace Damaged Shingles
Damaged shingles can expose your roof to leaks, particularly when snow and ice begin to melt. Replacing or repairing these shingles before winter arrives can prevent water damage and extend your roof’s lifespan.
How to Repair Shingles
- Inspect for Loose Shingles: Secure any loose shingles with roofing cement.
- Replace Broken Shingles: Use a pry bar to remove broken shingles and replace them with new ones. Be sure to follow proper installation techniques to prevent leaks.
- Consider a Roof Sealant: A roof sealant can provide an extra layer of protection against moisture, especially in areas with severe winter weather.
By addressing shingle repairs as part of your winter roof care routine, you can help your roof stay in peak condition throughout the season.
Check Flashing and Seals Around Roof Openings
Flashing and seals around chimneys, skylights, and vents are vulnerable areas for moisture to enter. Ensuring these areas are watertight is crucial to prevent leaks during winter storms.
How to Check and Repair Flashing
- Inspect for Rust or Corrosion: Rust or corrosion can weaken flashing and create entry points for moisture.
- Re-Seal if Necessary: Use roofing cement or caulk to reseal any gaps.
- Consider Upgrading Materials: If your flashing is severely damaged, consider replacing it with more durable materials such as aluminum or galvanized steel.
Maintaining flashing and seals is an essential component of winter roof preparation, as it protects some of the most vulnerable areas of your roof.
Consider Adding a Waterproof Roof Membrane
For homeowners in areas with heavy snowfall, a waterproof membrane provides an extra layer of protection. This underlayer, installed beneath the shingles, prevents water from penetrating the roof and is especially helpful in areas prone to ice dams.
Benefits of a Waterproof Roof Membrane
- Prevents Water Damage: A waterproof membrane can stop water from reaching your attic, even if ice dams form.
- Adds Durability: It reinforces your roof’s structure, making it more resilient in extreme weather conditions.
- Ideal for Older Roofs: If your roof is aging, this can provide additional peace of mind against winter storms.
Installing a waterproof membrane is an investment in your roof’s longevity and a proactive step in winter roof preparation.
Protect Your Roof with Proactive Winter Care
Winter roof preparation is essential for keeping your home safe, warm, and protected from the elements. By inspecting your roof, cleaning gutters, trimming overhanging trees, insulating your attic, and addressing damaged shingles and flashing, you can prevent winter-related roof issues and ensure your home is ready for the season. Following these best practices for winter roof care not only helps maintain your roof’s condition but also brings peace of mind knowing your home is well-prepared for winter’s worst.
Need a Roofing Contractor in Minneapolis-St. Paul, MN?
Established in 2008, K. and M. Construction is your trusted roofing contractor in the Twin Cities metro area for all things exterior residential. We specialize in storm damage restoration, including hail damage repair and metal roof replacement. Our team boasts over 35 years of combined experience ensuring top-notch work on your roof, siding, windows, and gutters. We take pride in exceeding expectations and providing exceptional customer service. Contact us today and let us transform your home’s exterior!